Browsing Category

Travel

This sweet treat was born in Chicago

August 30, 2023

You might think you don’t care about the World’s Columbian Exposition of 1893, which was held in Chicago.

But let me tell you about some of the now-cherished items that debuted there: Cream of Wheat, Juicy Fruit gum, the chocolate bar (Hershey’s), Aunt Jemima Pancakes, the #2 yellow pencil, Shredded Wheat, the automatic dishwasher, Cracker Jacks, the zipper, Ferris wheels.

Also America’s first serial killer.

Right. We could’ve done without that last thing.

One of my favorite books, The Devil in the White City by Erik Larson, delves into that World’s Fair and how it profoundly changed the country. The inventions! The murders! The new foods! The murders! Zippers! More murders!

It’s a gripping and wildly informative read, and it’s also a master class in nonfiction that reads like fiction.

What does all this have to do with a sweet treat?

Well, I was recently in Chicago with my high school girlfriends. As we walked around downtown, we passed by a place that sounded familiar from the book: the Palmer House Hotel.

I pulled my friends inside, not just because it’s a grand building …

And not just because it’s infused with historic details, like Mark Twain’s gallon-sized beer stein, and ostentatious lamps …

but because this is a place in food history!

Palmer House is where the brownie was invented.

As the story goes, the dessert was inspired by socialite Bertha Palmer, who was married to Potter Palmer, the millionaire owner of the hotel. She chaired the ladies’ board for the World’s Fair and tasked the hotel pastry chef with creating something that would be easy to box up and transport to the festival grounds.

Voila, the chef dreamed up brownies! (Although they weren’t called that until 1898, when they appeared in a Sears Roebuck catalog.)

The Palmer House confection is not quite to my taste, as I’m more of a crunchy edge brownie person, and this one has a gooey, fudge-like consistency. But hey, we need both kinds of brownie eaters in this world.

If you want to try it yourself, here’s the recipe. More than a century old, it’s the same one they use today.

Training for a Mount Kilimanjaro trek

March 31, 2023

I’ve had a few people reach out to me about how I trained for the Mount Kilimanjaro trek, (and I also want to remind myself of what I’m capable of), so I’m pulling it all together here. It’s a blend of weightlifting, cardio, Peloton, outdoor activity, and Wim Hof method.

Here we go:

THE BASIC PLAN

I started ramping up my cardio and doing long hikes many months in advance. But as the date of my trip creeped closer, I got serious about training. This 12-week training plan was my basic outline, and my friends who summited used this too. Because I work, have a family, and juggle a freelance career, I did modify the plan on occasion, but I tried to stick to it as best I could.

CARDIO

For cardio, I rode my Peloton a lot. For my “fun” rides, I opted for Jess King’s sweat steady rides or HIIT classes from my favorite instructors. But I primarily focused on doing Power Zone challenges — these are 6-8 week challenges of Power Zone classes, which use your individual functional threshold power for a customized workout to improve endurance, performance, and strength. I think PZ classes are also particularly effective for improving VO₂ max, the amount of oxygen your body can take in and use during exercise, and that was a priority for me. I’ve struggled with asthma my entire life, and I was nervous about the thin air at Kilimanjaro’s extremely high altitudes.

WEIGHTS

I also knew I had to get stronger in order to carry a heavy pack for several hours each day, scramble up rocks, etc. I have a set of free weights that I use at home, and I used those to do the IRON series from Caroline Girvan on YouTube. I won’t lie — these classes are HARD. Some days my muscles trembled for hours afterward. But they’re great. It’s like having the world’s best personal trainer in your house.

YOGA

Power yoga was recommended by both my pulmonologist and a friend who has summited Mount Whitney, so I added that into the mix too. It was beneficial for keeping me flexible, but also for learning to regulate my breath with strenuous movement. I took Peloton’s yoga classes, but you could do classes from anywhere. (One thing about me and yoga: I always have to force myself to do it, even though I feel great afterward and love having done it. So if you feel the same way, you’re not alone.)

OUTDOORS

Outdoor workouts were also a huge part of my training. In addition to long hikes, I also walked up the steepest road in my neighborhood, sometimes wearing a backpack weighted with dumbbells, sometimes wearing my friend’s baby in a carrier on my back.

In my case, the steepest road around is Tramway Road, which climbs 1,800 feet in 3.7 miles, and I grew to love my sunrise walks there. (We just moved away, and I miss that road more than I expected, especially considering how many times I cursed at it.)

WIM HOF

Are you familiar with Wim Hof? He’s a Dutch madman who plunges himself into ice, performs extreme athletic feats, and can hold his breath for six minutes at a time. And I completely and wholly believe in his methods. I first learned about him in a wacky GOOP documentary, I’m embarrassed to admit. Then he led a breathwork session on my favorite meditation app, and I felt tingly and high just from breathing. (That was on Insight Timer, but sadly his session has been removed.)

To prepare for Kili, I knew that cold exposure and increasing my lung capacity would be helpful, so I cobbled together some Wim Hof training on my own. I read everything I could about the guy and his techniques. I downloaded Wim’s app, paid for some of the trainings, and practiced his breathing method. I don’t have an ice bath for cold plunges, so I did cold water for the last few minutes of every shower (I increased the cold water time over a period of months). You can also find instructors trained in the Wim Hof method all over the world.


Overall, I worked very hard long before I ever saw the mountain, and then I worked very hard to summit it. And I discovered that I’m stronger and more determined than I ever realized.


Kilimanjaro gear: Some of the more unusual items

February 9, 2023

I’m almost always a minimalist packer, a carry-on only kind of gal.

So packing for the week-long trek up Kilimanjaro, which moves through five climates, has been giving me fits. Bookending the climb is a long layover in Paris and quick jaunt to Zanzibar. Plus there are also weight limits to consider.

I know this is just another travel puzzle I need to figure out, and I’m working on it.

In the meantime, I wanted to share some of the more unusual items I’ll be stashing in my duffel up the mountain.

Camp shoes

I’ve camped before, but I’ve never had a dedicated pair of camp shoes. The Kilimanjaro guides recommend bringing some, though, because your feet get cold and tired each night, and your hiking boots are the last thing you want to wear.

I bought these Ramble Puff slippers from Chaco, and they are unbelievably light and comfortable while also being very sturdy. I love them so much, I’m not going to lie — I will probably wear them in Paris with confidence and pretend they’re fashionable.

Detergent strips

Lazy Coconuts is the detergent I use at home, and I always bring a couple of strips with me when I travel. They’re great for washing a couple of items in a sink, or you can toss one in a washing machine. (I’ve had people ask how I make a few items of clothing stretch for a month-long trip, and this is my boring secret. I do laundry all over the world.)

Silicone bags

Tanzania banned plastic bags in 2019, and it’s my understanding that plastic bags can be confiscated at customs/immigration. That inspired me to finally invest in some Stasher reusable bags. I plan to use them for keeping things organized in my duffel (along with my beloved compression cubes), but they’re made of food-grade silicone, so I can use these for snacks and food prep when I get home.

Portable urinal

This is my portable urinal, or as I call it, my pee accordion. This was another item recommended by the guides, because apparently it gets so cold at night, you should not leave the tent to pee. (And I WILL have to pee, I already know this.) That’s where the portable urinal comes in.

Some folks use a Nalgene bottle. However, I will be using Nalgene bottles for drinking water, so I wanted my urinal to look as different from a Nalgene bottle as possible. My night vision is terrible.

Amazing style — priceless

A balaclava is necessary to keep my face from becoming frozen, and these polarized sunglasses are for preserving my sight, even in snow and ice.

For the balaclava, I wanted both style and substance, which is why I opted for the floral. It’s giving me Magnum P.I. climbs a mountain. Or Golden Girls at 19,500 feet.

As for the glasses, I love these already. They’re Goodr, a brand that other Kili climbers raved about, and they’re so light. When it comes time to get new sunglasses again, I’ll be a return customer.

Disclosure: I only endorse things I personally use and have purchased for myself. If you buy anything using one of the above referral links, I might receive a small commission. However, there’s no extra cost to you, and the $ goes toward paying my Internet bill.

Hiking Kilimanjaro (Or, how I became the sweaty yeti)

January 29, 2023

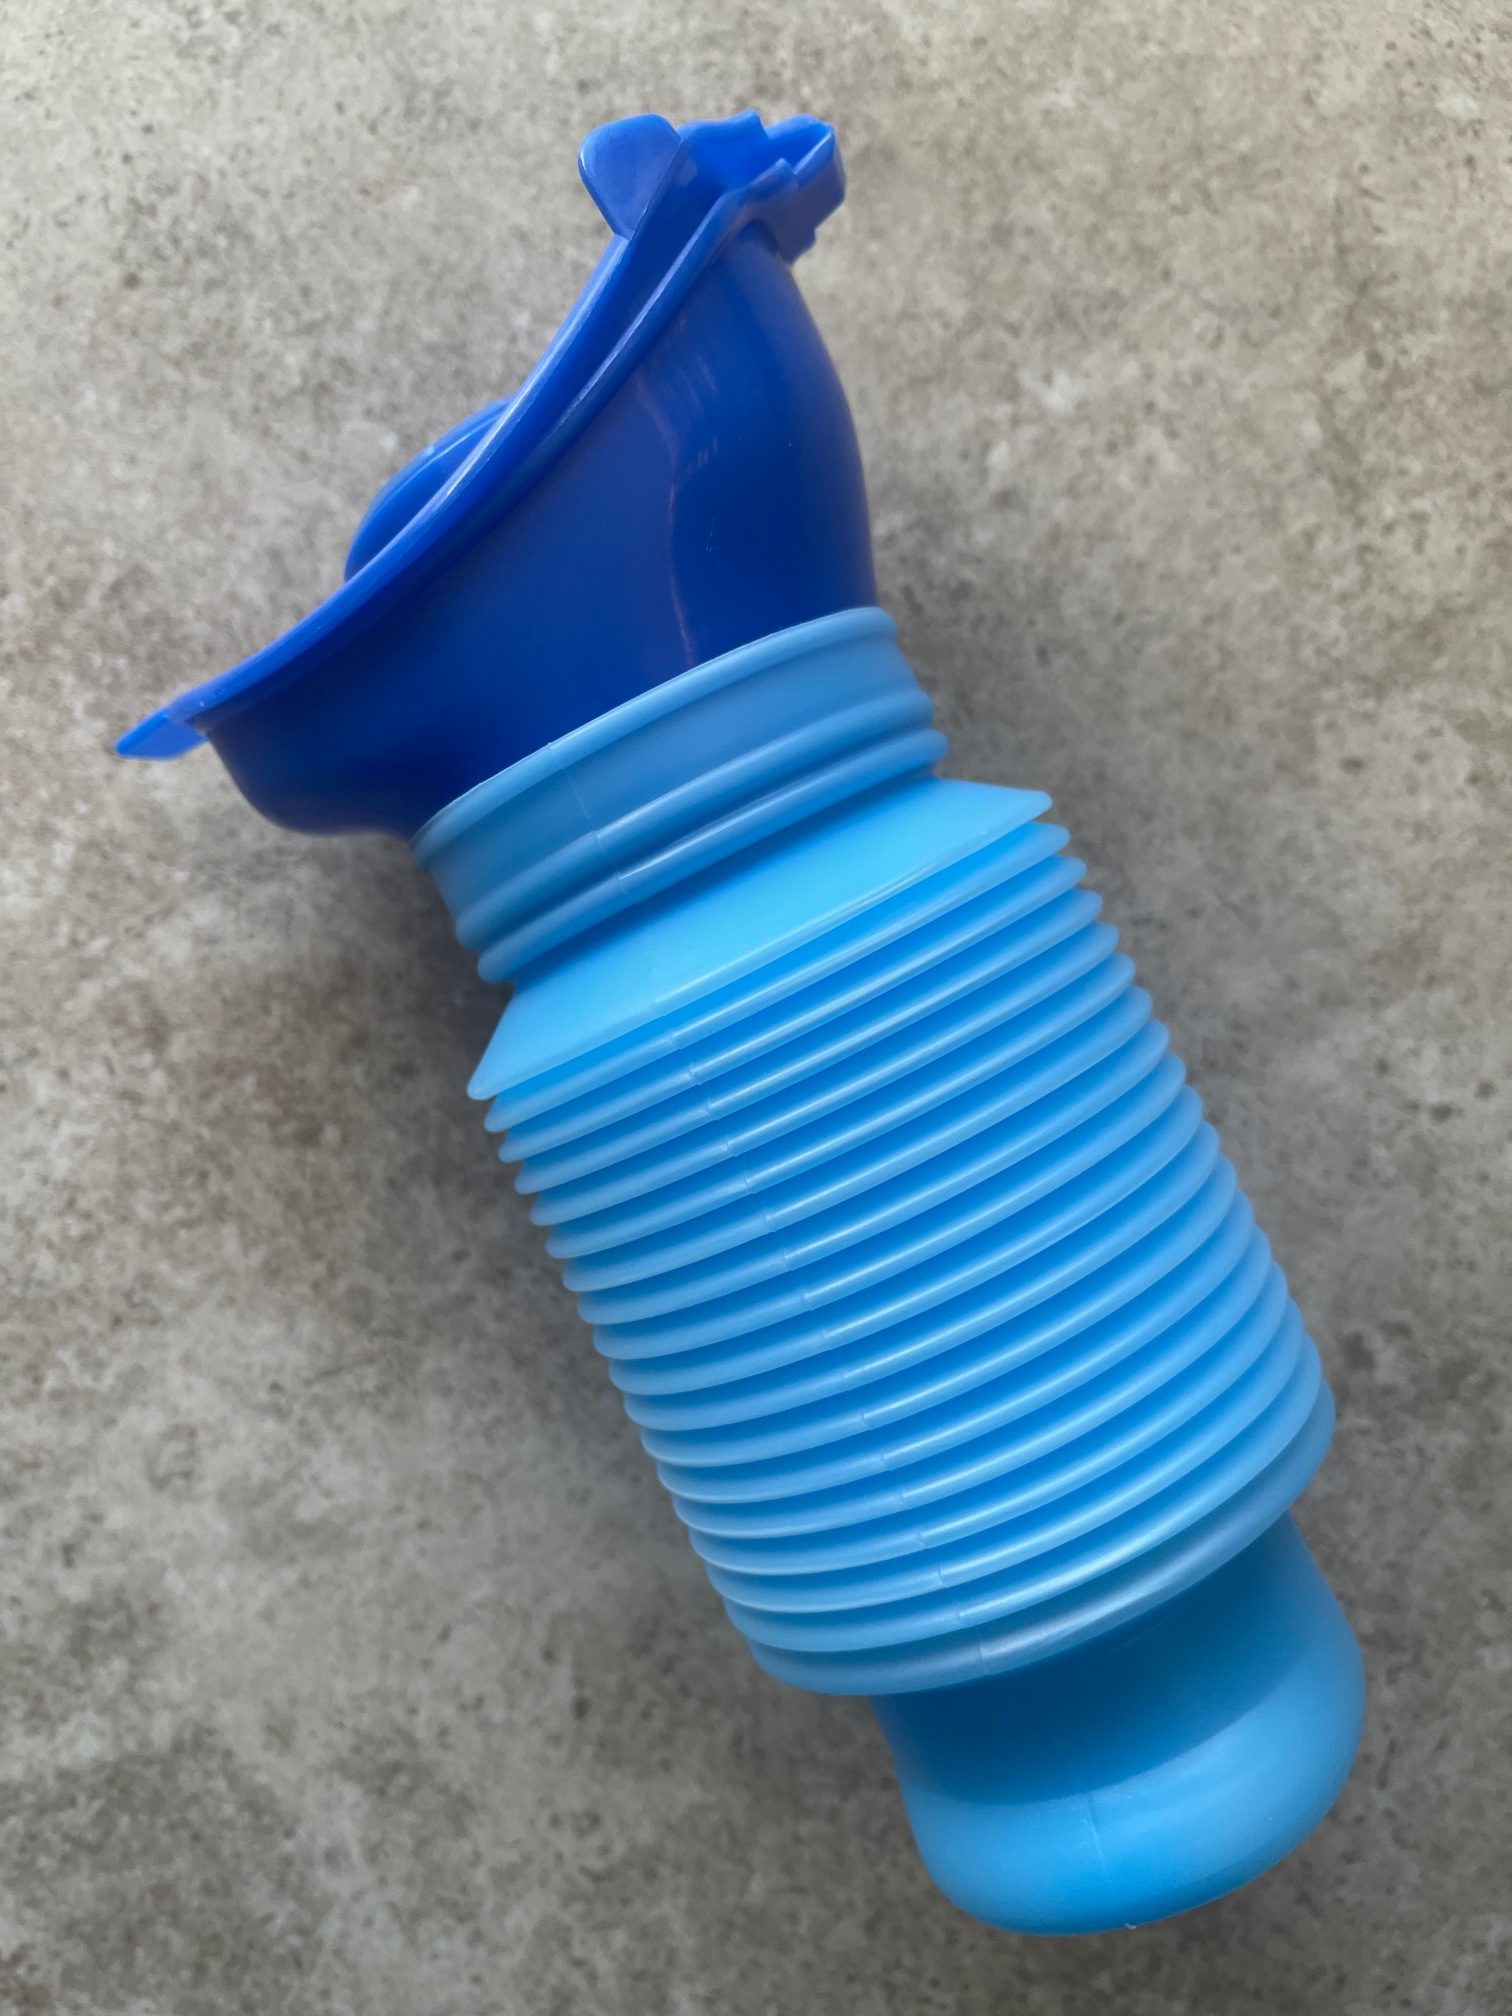
I’m just about a month away from climbing Mount Kilimanjaro, and everything is starting to feel very real. I’ve been doing a lot of training hikes and testing out all my gear, and one corner of my bedroom looks like I’ve robbed an REI. It’s just a big pile of base layers, gaiters, gloves, Nalgene bottles, a portable urinal…

Yeah, I’ll probably post more about that last thing at some point.

But I also have very thick, knee-high socks that I’m packing especially for summit night. Since these socks have a yeti on them, somehow I started thinking of myself as The Sweaty Yeti.

While I know there aren’t any yeti stories associated with this mountain — not even close — it makes me feel stronger and cold-weather resilient to imagine myself as part-Yeti. (Sweaty is a given.)

I’ve also been looking over the schedule and poring over maps. By law, every hiker on Kili must go with a guide, so I’ve signed up to do a group hike with a local Tanzanian company. (And a couple of my friends will be joining in too!)

We’ll be taking the Machame route. It looks like this:

DAY 1: Machame Gate to Machame Camp

Elevation: 5,380 ft. to 9,350 ft.
Distance: 11 km/7 miles
Hiking Time: 5-7 hours
Habitat: Rain Forest
We begin in the village of Machame which is located on the lower slopes of the mountain. As we leave the park gate, we will walk through dense rain forest on a winding trail up a ridge until we reach Machame Camp, where we will stay overnight.

DAY 2: Machame Camp to Shira 2 Camp

Elevation: 9,350 ft. to 12,500 ft.
Distance: 5 km/3 miles
Hiking Time: 4-6 hours
Habitat: Heath
Leaving the glades of the rain forest, we’ll continue on an ascending path up to a steep, rocky ridge. On the Shira Plateau, we’ll pass through heather and open moorlands, then cross a large river gorge to Shira 2 Camp and stay overnight.

DAY 3: Shira 2 Camp to Barranco Camp

This day is divided into two parts:

Shira 2 Camp to Lava Tower

Elevation: 12,500 ft. to 15,190 ft.
Distance: 7 km/4 miles
Hiking Time: 4-5 hours
Habitat: Alpine Desert

Lava Tower to Barranco Camp

Elevation: 15,190 ft. to 13,044 ft.
Distance: 3 km/2 miles
Hiking Time: 2-3 hours
Habitat: Alpine Desert
We’ll continue to the east along a ridge and then head southeast towards the Lava Tower – a 300 ft. tall volcanic rock formation. Then we’ll descend down to Barranco Camp through the strange but beautiful Senecio Forest to an altitude of 13,000 ft. Although we’ll begin and end the day at the same elevation, the time spent at higher altitude is beneficial for acclimatization.

DAY 4: Barranco Camp to Karanga Camp

Elevation: 13,044 ft. to 13,106 ft.
Distance: 5 km/3 miles
Hiking Time: 4-5 hours
Habitat: Alpine Desert
We’ll begin the day by descending into a ravine to the base of the Great Barranco Wall. Then we climb the non-technical but steep, 900-foot cliff. From the top of the Barranco Wall we’ll cross a series of hills and valleys before descending sharply into Karanga Valley. One steeper climb up will lead us to Karanga Camp. This is a shorter day meant for acclimatization.

DAY 5: Karanga Camp to Barafu Camp

Elevation: 13,106 ft. to 15,331 ft.
Distance: 4 km/2 miles
Hiking Time: 4-5 hours
Habitat: Alpine Desert
We’ll leave Karanga and hit the junction that connects with the Mweka Trail. We’ll continue up to the rocky section to Barafu Hut. At this point, hikers will have completed the Southern Circuit, which offers views of the summit from many different angles. Here we’ll make camp, rest and enjoy an early dinner to prepare for summit day.

DAY 6: SUMMIT DAY

Another day divided into two parts, and IT’S A DOOZY.

Barafu Camp to Uhuru Peak

Elevation: 15,331 ft. to 19,341 ft.
Distance: 5 km/3 miles
Hiking Time: 7-8 hours
Habitat: Arctic

Uhuru Peak to Mweka Camp

Elevation: 19,341 ft. to 10,065 ft.
Distance: 12km/7 miles
Hiking Time: 4-6 hours
Habitat: Rain Forest
Around midnight, we’ll begin our push to the summit.
This is the most mentally and physically challenging portion of the trek. The wind and cold at this elevation and time of day can be extreme, and we’ll ascend in the darkness for several hours. Near Stella
Point (18,900 ft.), hopefully the sun will come up and reward us with a magnificent sunrise over Mawenzi Peak.

Finally, we’ll arrive at Uhuru Peak, the highest point on Mount Kilimanjaro and the continent of Africa.
From the summit, we’ll make our descent continuing straight down to the Mweka Hut camp site, stopping at Barafu for lunch. The trail is very rocky and steep. Many have said this is actually the worst part of the hike, due to the strenuous, rocky descent that can be hard to the joints, combined with physical fatigue from hiking throughout the previous night.

DAY 7: Mweka Camp to Mweka Gate

Elevation: 10,065 ft. to 5,380 ft.
Distance: 10km/6 miles
Hiking Time: 3-4 hours
Habitat: Rain Forest
On our last day, we’ll continue the descent to Mweka Gate and collect summit certificates. From the gate, we continue another hour to Mweka Village. A vehicle will meet us at Mweka Village to drive us back to Moshi.

Holy crêpe: Paris and the tale of the long layover

January 22, 2023
Paris at twilight when the sky is lavender

Why am I stopping in Paris on my way to Tanzania?

That’s a great question, and the answer offers some insight into how I travel.

I’m headed to Tanzania to climb Kilimanjaro in early March. It’s an expensive trip that has been a long time coming, so I want everything to go as smoothly as possible.

In reading accounts of people who didn’t successfully summit the mountain, three things repeatedly popped up: The hiker started their trek while still feeling the effects of jet lag, they didn’t have sufficient gear, and/or they physically couldn’t acclimate to the altitude during the climb.

Two of those things are within my control. (Meanwhile, acclimatization seems to be a roll of the dice.)

I usually don’t check luggage, but in this case I have too much gear for a carry-on bag. So for my trip to Tanzania, I’m going slowly. My hope is that this will minimize jet lag, and the handful of extra travel days will serve as a buffer in the event of delays or lost luggage.

I looked at all my options for long layovers, and Paris jumped out for a few reasons: It’s a necessary stop for a future book project; I thought I’d be able to convince my friends to join me; and most importantly, I’ve never been! Though I’ve traveled to France before, I’ve somehow always missed Paris. And while I’m enough of a contrarian that I don’t feel a deep need to visit the city of lights, I’m not going to pass up an opportunity to explore a beautiful place.

I found a great deal on a nonstop flight from LAX to Paris for $400. Then I used United MileagePlus award points to book the rest of my trip, a flight from Paris to Tanzania with a brief stop in Ethiopia.

Usually I like to keep a lot of space for spontaneity when I travel. But because I only have three days in Paris, I created a schedule to make the most of that time. I booked a hotel, scheduled interviews, arranged tours.

The airline, however, had a different plan — and they cancelled my flight. While they did offer to put me on another flight, one was a week earlier, and one arrived too late. So that didn’t work.

Since we’re just over a month out from the trip, new flights on other airlines are about $1,000, plus taxes and fees. Merde!

At this point, I have too much research, work, and money invested in going to Paris, so I can’t skip it. But at that price, I can’t go to Paris.

My simple layover was going to drive me in-seine.

Here’s how I fixed it

First, I did many, many searches for flights, using every trick I know.

Nothing.

Then I moved some points around to my United MileagePlus account and booked an awards flight from Palm Springs to Paris for 30k points + $5. I kept the awards flight I already have from Paris to Tanzania.

For my return, United doesn’t charge a change fee for awards flights, so I rescheduled my Tanzania to Paris flight as a Tanzania to Palm Springs trip, which cost 44k points and $240 (most of that money was for seat selection, a pointless fee I will forever gripe about). It is going to be a terrible, 37-hour travel day — but I don’t need to build any buffers into the return flight, I just need to get home.

So I’m getting for Paris for less money than the flight I originally booked, though I am blowing through a lot of points. But hey, that’s what those are for, right?

I have to admit, right now I feel … triomphe-ant.